
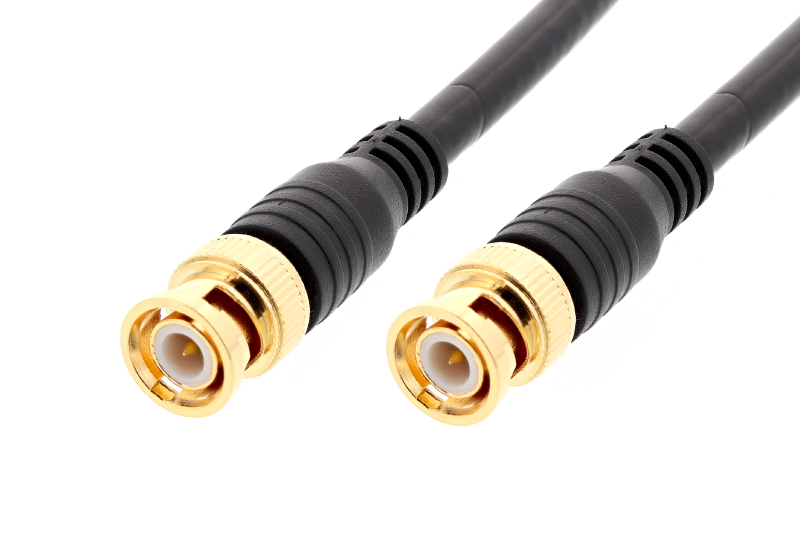
Common BNC Connector Installation Mistakes
Every installation technician has his or her own techniques and tricks for installing a BNC connector on coax cable. But when bad habits lead to having to re-terminate connectors, the labor time and scrap costs increase – and so does frustration.
Even in situations where the connection technically works, it could still negatively impact system performance.
Connector Selection Mistakes
-
Selecting the wrong connector size
Do not force a plenum connector onto a non-plenum wire or an RG-6 connector onto an RG-59 wire. Use cable-to-connector cross-reference guide to ensure you have the appropriate BNC connector size, or check the manufacturer’s instructions and dimensions.
-
Choosing the incorrect bandwidth
If you are setting up 4.5 gigahertz coax, make sure that the BNC connectors you choose are also guaranteed to that same level of performance. Other BNC connectors might only work at 1.5 GHz or 3 GHz.
-
Judging a connector by looks alone
Selecting a BNC connector with the right impedance is an essential step in maintaining system performance.
-
Ignoring compression connectors
While industry experts usually prefer to stick with three-piece compression connectors, one-piece connectors can match or surpass the performance of the classic three-piece connector option.
Crimp connectors leave the coax crimped in a hexagon shape. Physical changes like these impact the electrical performance of the cable.
Stripping and Preparing Mistakes
-
Using electrical dikes to cut the coax
Electrical dikes are not intended to cut coax. They will flatten the cable’s dielectric, which modifies the cable’s physical structure and ends in performance problems. We advise cutting coax with cable cutters that have curved jaws that don’t flatten the dielectric.
-
Using the wrong strip tool
Compression connectors need a ¼” x ¼” strip, that ends in a ¼” center conductor and ¼” dielectric and braid. If you’re using the wrong strip dimensions, the cable won’t fit in the connector the way it was intended. For three-piece crimp connectors, always prep the cable according to the installation instructions.
-
Using a dull prep tool.
Dull tools can make the braid to wrap throughout the center conductor, producing a short; long braids standing around the back of the connector might produce a moisture path.
-
Over-twisting with a stripping tool or using a razor/knife to strip the cable
Three rotations back and three rotations forward is the correct way to use a stripping tool. Contractors who use more rotations, or use a razor to strip the coax, run the risk of cutting the middle conductor and affecting performance.
9. Forgetting to flatten the foil
Flattening the foil blocks bunching. When foil bunches up within the cable, the middle pin won’t completely extend and lock in the front of the cable.
-
Allowing one strand of the braid go inside the connector
Not being able to keep all the strands from touching the middle conductor will produce a short.
Crimping and Compressing Mistakes
-
Using the wrong crimp die.
When the wrong crimp die is employed, the crimp isn’t shaped precisely and can negatively affect performance.
If you would like to receive a quote for any of custom cables or connectors, please do not hesitate to contact us by sending an email to [email protected] or calling in the USA this phone number (682-325-1944)
Jessica Cardona
www.readytogocables.com